本文最后更新:2023-03-03 11:33前言
因一些原因,需要在 Windows 虚拟机中跑 Nginx,发现官网下载的版本没有带 –with-stream_ssl_preread_module 参数编译,导致无法在 stream 中开启 ssl_preread,一番研究后顺利在 Windows 环境下完成了对 Nginx 的编译,特此记录。
准备所需工具
- Visual Studio 2022,安装「使用C++的桌面开发」工作负荷,需要其中的 MSVC 工具
- Git 或 MSYS2,需要使用它们的 Bash 生成 Makefile,有一个即可,笔者已经安装了 Git,就没有测试 MSYS2 了
- Strawberry Perl 或 ActivePerl,有一个即可,笔者使用的是前者,Portable 版本即可
准备源码
首先,在这里(http://hg.nginx.org/nginx)下载 Nginx 源码,选择带有如下图 release 标签的项,点击左侧菜单中的「zip」或「gz」下载。

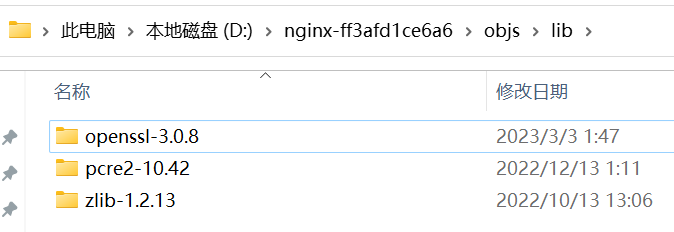
解压下载好的 Nginx 源码,在它的目录下建立 objs/lib 文件夹。随后依次下载以下 3 个软件的源码,解压放置在 objs/lib 目录下。
- PCRE2(https://github.com/PCRE2Project/pcre2/releases):下载 Releases 中的最新包即可,例如笔者下载的「pcre2-10.42.zip」,注意不是「Source code」压缩包
- zlib(https://zlib.net/):在页面的「The current release is publicly available here:」处任意选择一项下载即可
- OpenSSL(https://www.openssl.org/source/):下载最新版即可,笔者下载的是「openssl-3.0.8.tar.gz」
配置 Makefile
首先定位到 auto\lib\openssl\makefile.msvc,将其中的「VC-WIN32」改为「VC-WIN64A」以构建 x64 的版本。
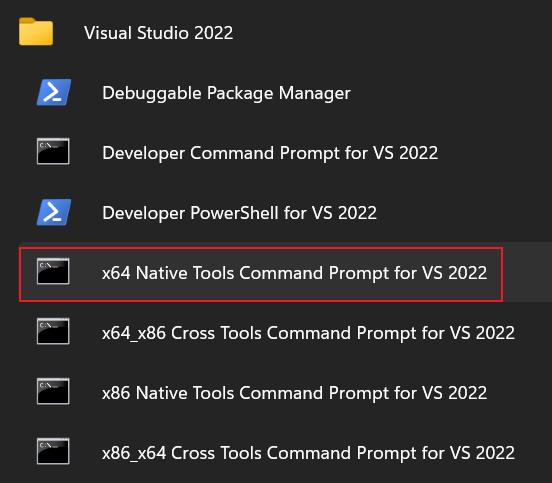
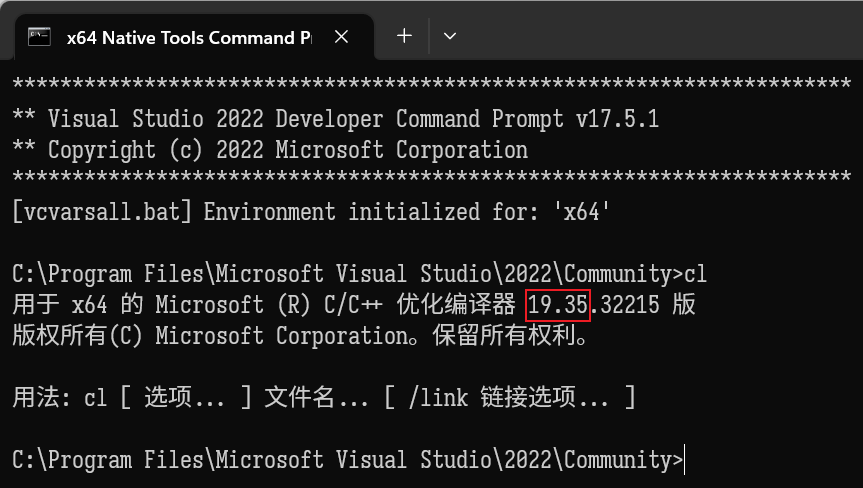
然后定位到 auto/cc/msvc,在「echo ” + cl version: $NGX_MSVC_VER”」行上方添加一行「NGX_MSVC_VER=19.35」以指定编译器版本号,如下图打开 VS 命令行,执行「cl」,可以看到你的编译器版本号信息。
最后回到根目录,在根目录打开 Git Bash,执行以下配置命令,注意「–with-pcre」「–with-zlib」「–with-openssl」的值可能需要根据你下载的版本进行修改。
auto/configure \
--with-cc=cl \
--with-debug \
--prefix= \
--conf-path=conf/nginx.conf \
--pid-path=logs/nginx.pid \
--http-log-path=logs/access.log \
--error-log-path=logs/error.log \
--sbin-path=nginx.exe \
--http-client-body-temp-path=temp/client_body_temp \
--http-proxy-temp-path=temp/proxy_temp \
--http-fastcgi-temp-path=temp/fastcgi_temp \
--http-scgi-temp-path=temp/scgi_temp \
--http-uwsgi-temp-path=temp/uwsgi_temp \
--with-cc-opt=-DFD_SETSIZE=1024 \
--with-pcre=objs/lib/pcre2-10.42 \
--with-zlib=objs/lib/zlib-1.2.13 \
--with-openssl=objs/lib/openssl-3.0.8 \
--with-openssl-opt=no-asm \
--with-http_ssl_module \
--with-mail_ssl_module \
--with-stream_ssl_module \
--with-http_v2_module \
--with-http_realip_module \
--with-http_addition_module \
--with-http_sub_module \
--with-http_dav_module \
--with-http_stub_status_module \
--with-http_flv_module \
--with-http_mp4_module \
--with-http_gunzip_module \
--with-http_gzip_static_module \
--with-http_auth_request_module \
--with-http_random_index_module \
--with-http_secure_link_module \
--with-http_slice_module \
--with-mail \
--with-stream \
--with-stream_ssl_preread_module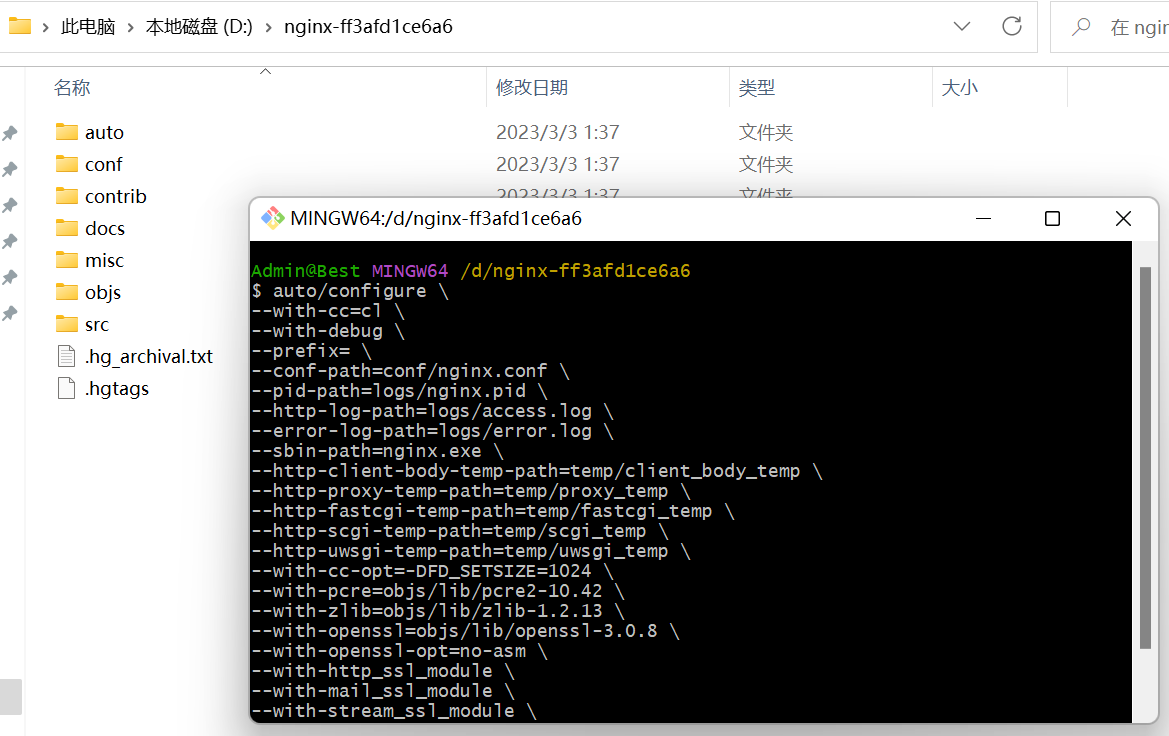
编译
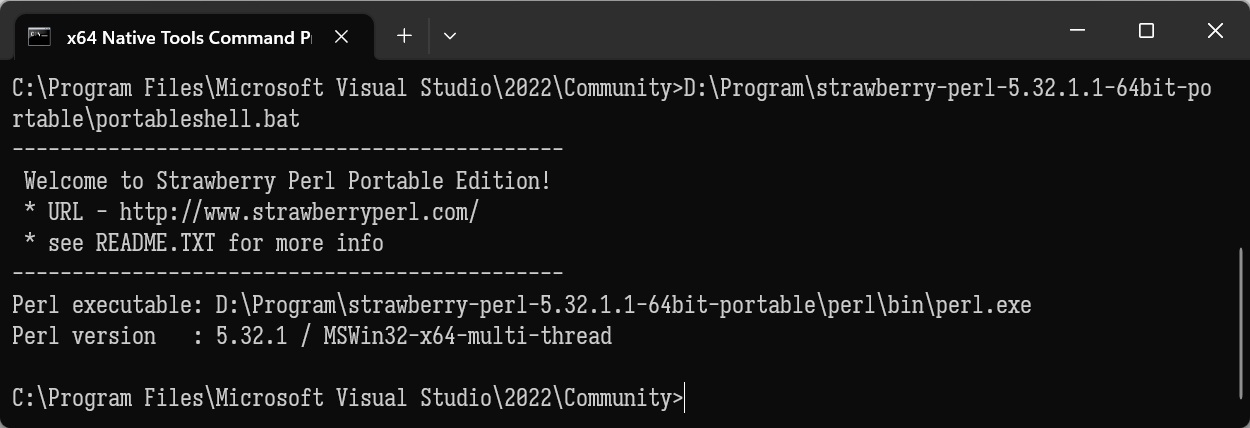
打开上文提到的「x64 Native Tools Command Prompt for VS 2022」工具,编译过程中需要用到 perl,如果使用的是 Portable 的 Strawberry Perl,需要先执行 Strawberry Perl 目录下的「portableshell.bat」以引入环境变量,如下图所示。
cd 到 Nginx 源码目录,执行构建命令:
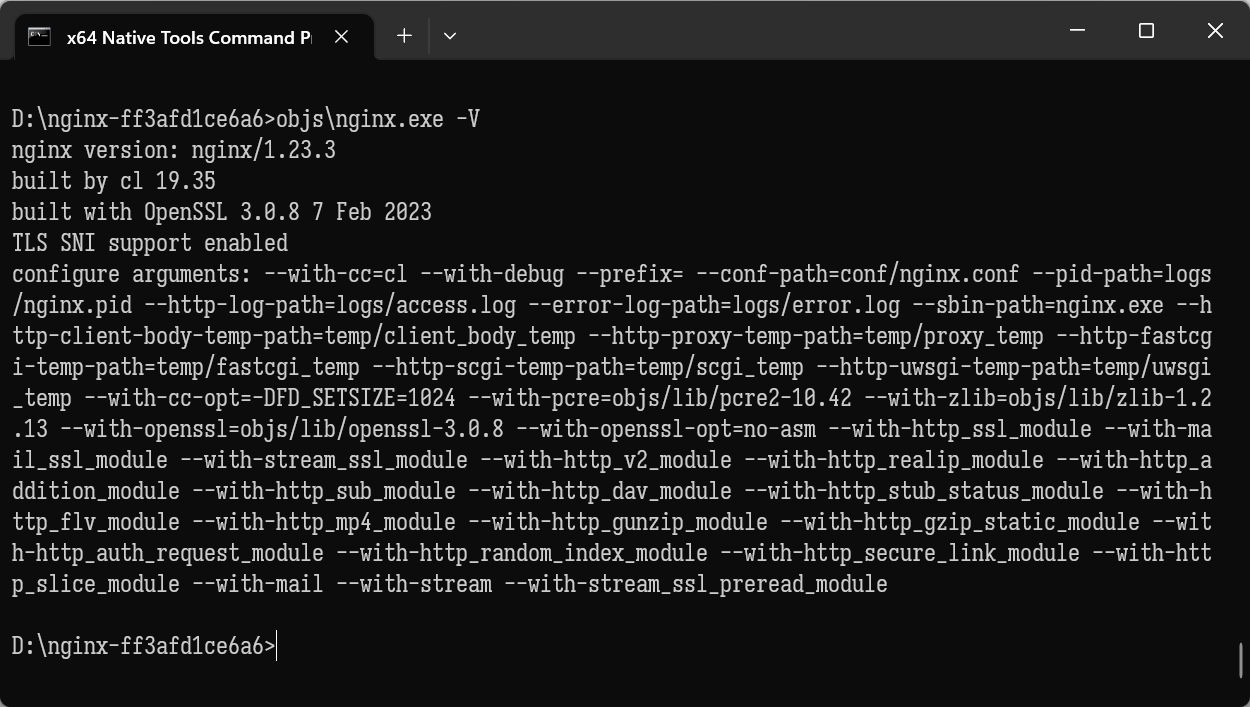
nmake等待一段时间,最后出现如下提示,即成功编译完成。
在 objs 目录下找到编译好的 nginx.exe,替换掉官网下载的版本中的 exe,即完成构建。
参考资料
[1] Building nginx on the Win32 platform with Visual C - http://nginx.org/en/docs/howto_build_on_win32.html
[2] Windows 10 下使用 MSVC 2019 编译 Nginx 64位过程记录 - https://www.taurusxin.com/nginx-windows-build/
请教:
为了添加 nginx-dav-ext-module 编译 nginx
安装的是 VS2022,运行了 vcvarsall.bat x64
bash 环境使用的是 MobaXterm
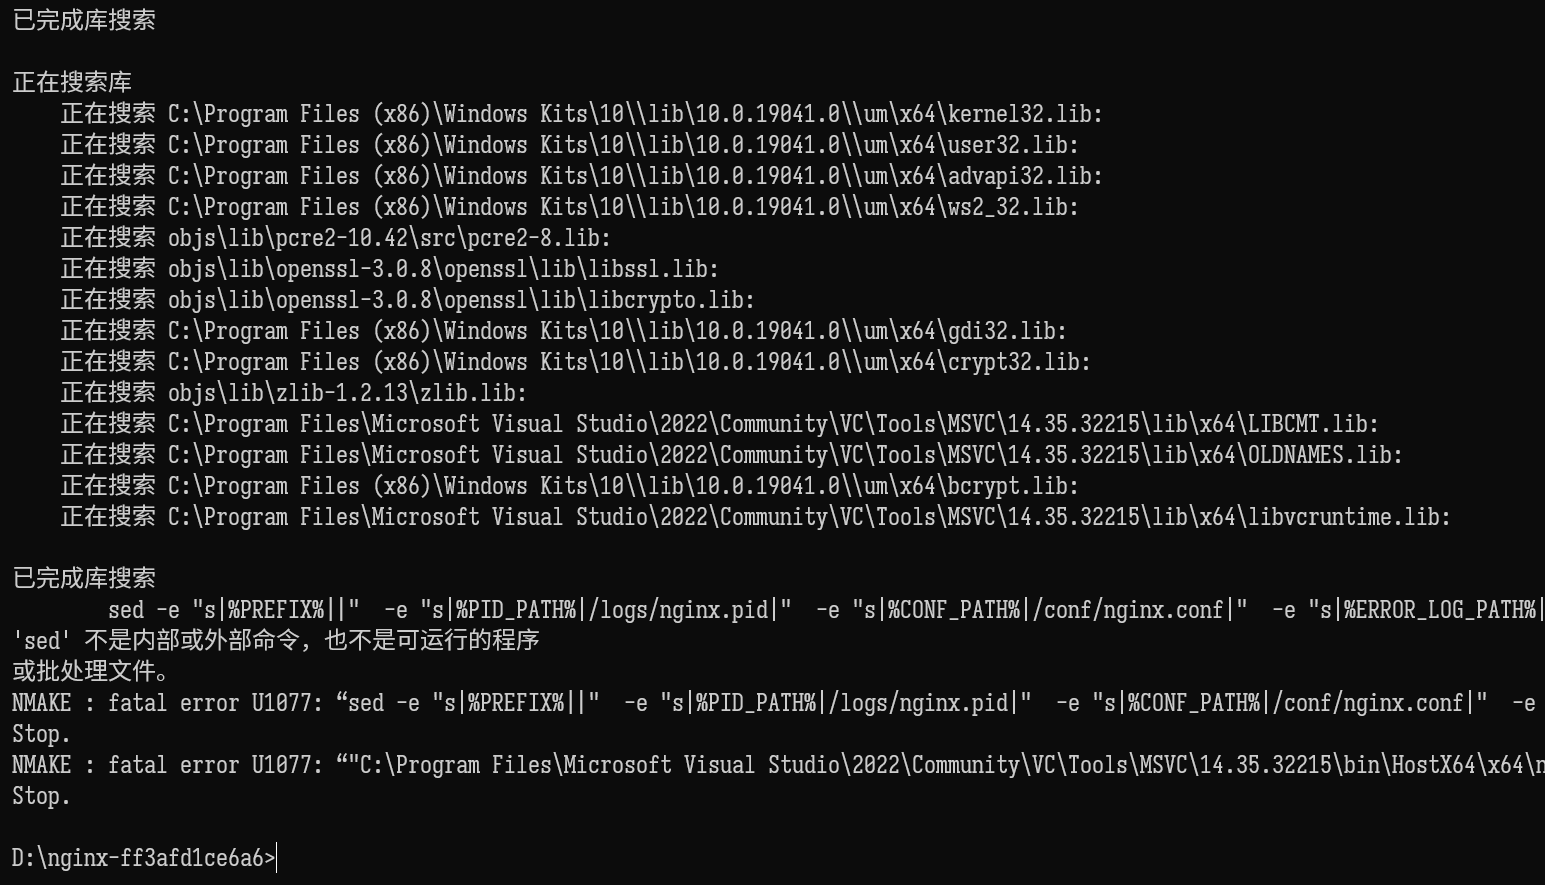
auto/configure 出错, 输出信息如下
<<>>
报错信息是?😂
你好,我想编译 nginx-dav-ext-module
按照下面的网页,msys2 安装了 libxml2 libxslt
但是 auto/configure 时还是找不到 libxml2 libxslt
https://nginx.org/en/docs/howto_build_on_win32.html
https://github.com/arut/nginx-dav-ext-module/tree/master
网上搜到一个帖子,修改 “auto\lib\libxslt\conf” ,但是仍然不成功,
https://cloud.tencent.com/developer/ask/sof/107103076
checking for libxslt … not found
checking for libxslt in /usr/local/ … not found
checking for libxslt in /usr/pkg/ … not found
checking for libxslt in /opt/local/ … not found
checking for libxslt in /mingw64/ … not found
谢谢